


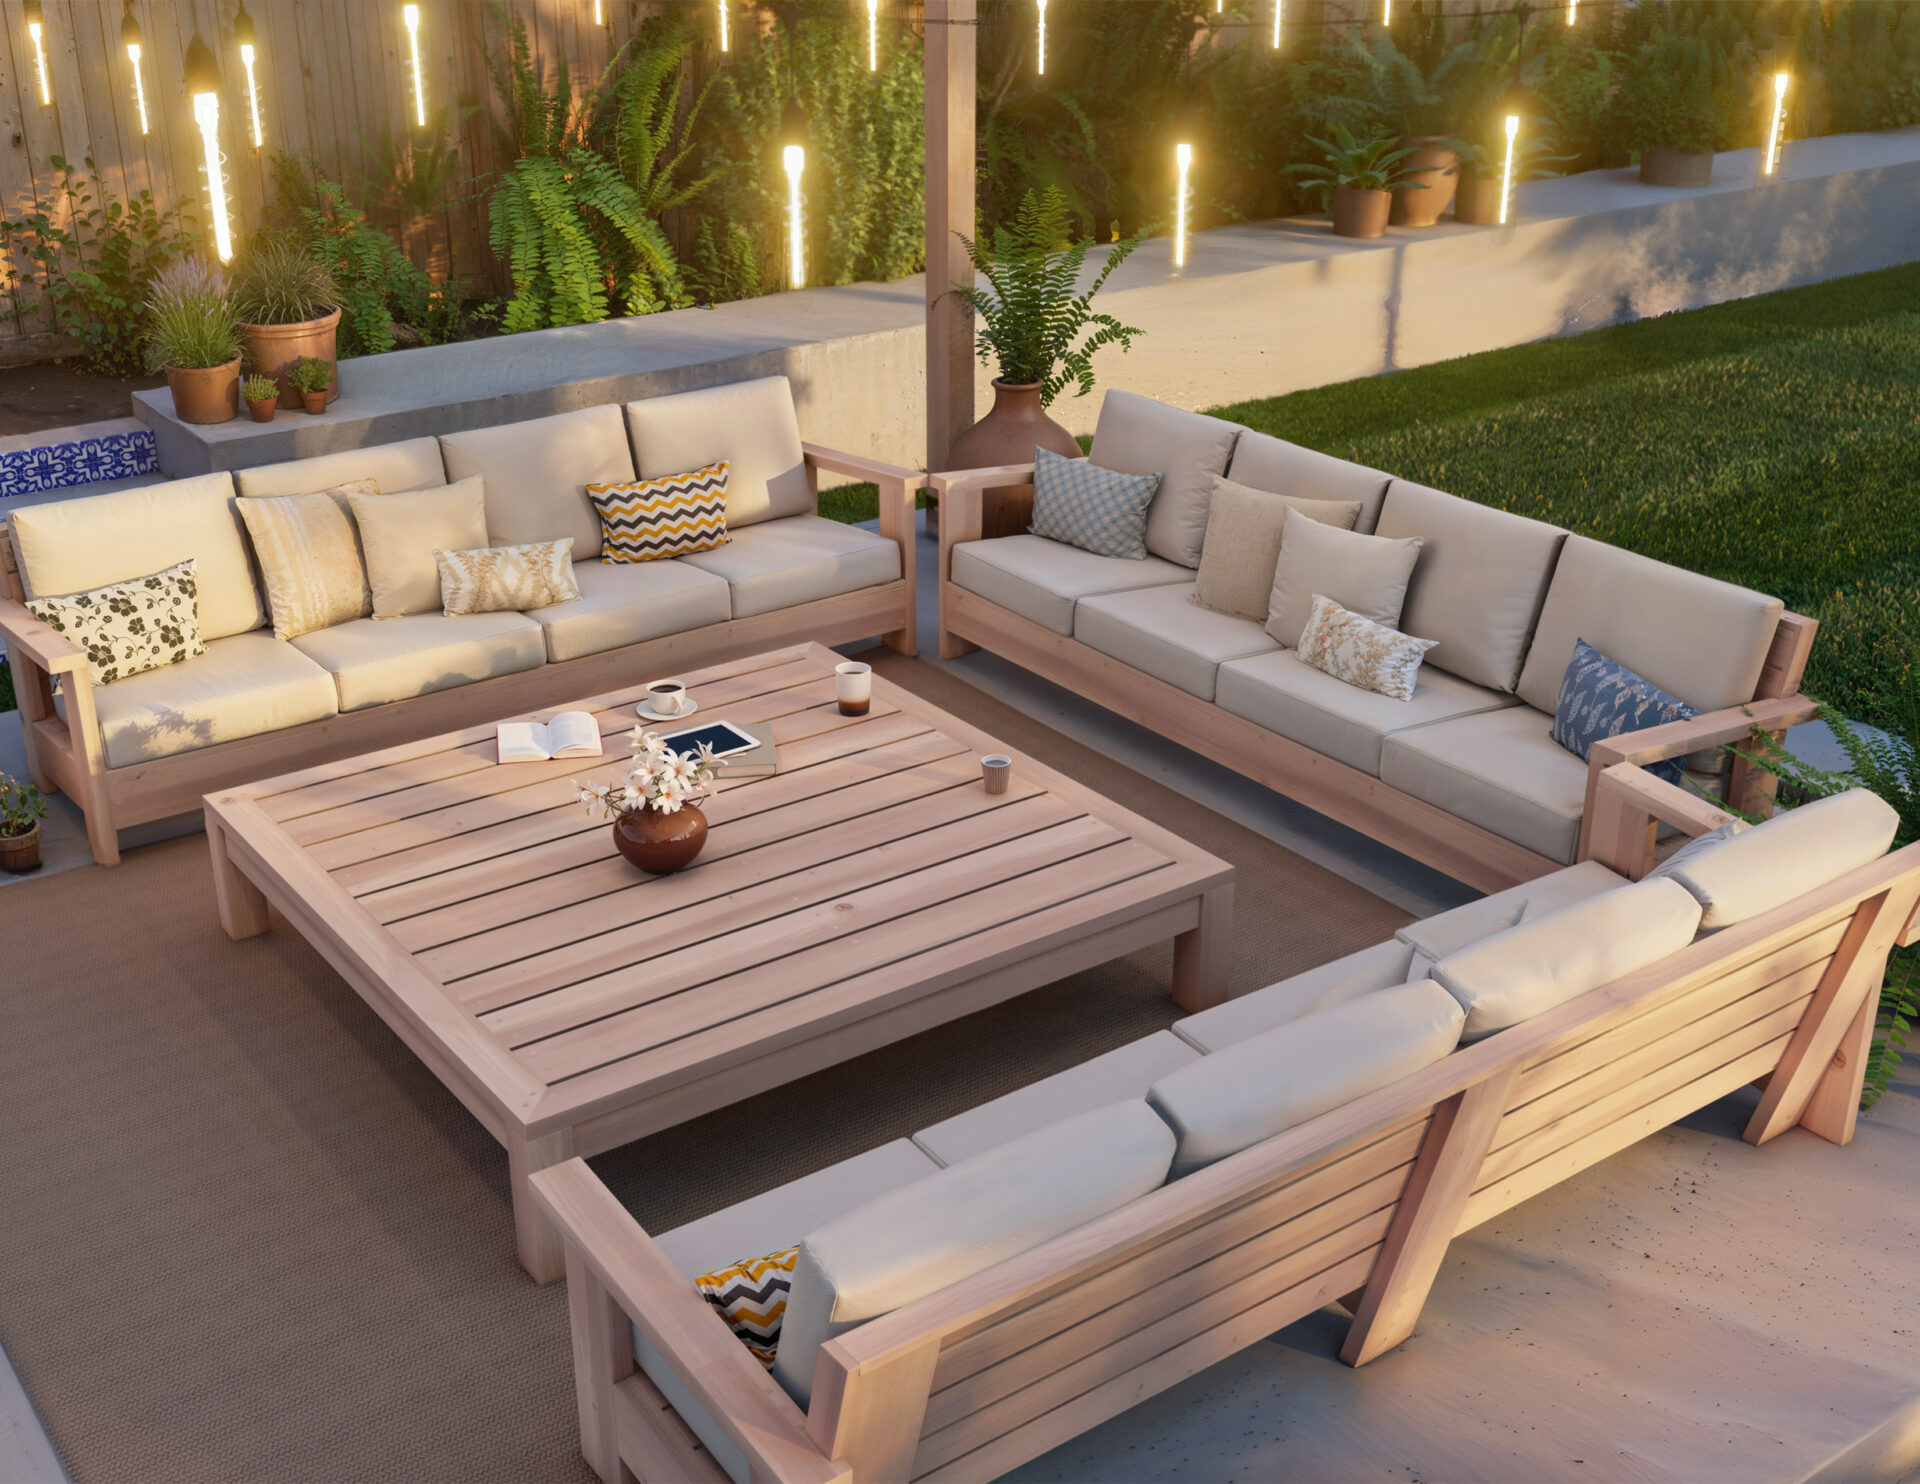
Alright, let's get this patio party started! You're looking to build a wooden patio table with bench seating, huh? That's a fantastic project â€" it's both practical and a great way to show off your DIY skills. Think cozy summer evenings, family BBQs, and maybe even a little morning coffee with the birds singing. Sounds pretty great, right?
Well, grab your tools and let's dive in! Building this table isn't rocket science, but it does require a little planning and some basic woodworking knowledge.
First Things First: The Blueprint
Before you start sawing and hammering, you need a plan, like a roadmap to your awesome patio table.Â
Here's what you need to decide on:
Size: How big do you want this beauty to be? Consider how many people you'll be seating and the space you have on your patio. Think about the dimensions of the tabletop, the bench length, and the height of the table.
Wood: There are so many choices! What kind of look are you going for? Cedar and redwood are beautiful and weather-resistant, pine is affordable, and hardwoods like oak and maple add some serious durability. Think about how much maintenance you're willing to do, as some woods need more care than others.
Style: Do you want a classic, rustic look, or something more modern and minimalist? Think about the design details, like the shape of the table, the bench legs, and any decorative elements you want to add.
Let's Get Down to Business: The Supplies
Alright, gather your materials! You'll need:
Lumber: Based on your chosen size and wood, calculate the amount of lumber you'll need for the tabletop, legs, bench frames, and bench slats. It's always better to buy a bit extra than to run out halfway through!
Fasteners: You'll need screws, nails, and maybe even some bolts depending on the type of construction you choose.
Wood glue: It's always a good idea to use wood glue in addition to screws and nails for stronger joints.
Finishing supplies: Sandpaper (different grits for sanding down rough edges), wood stain (if you want to color your table), and a sealant (to protect the wood from the elements).
Tools: You'll need a circular saw or chop saw, a drill with various bits, a tape measure, a level, a pencil, a hammer, a screwdriver, clamps, and possibly a sander depending on how smooth you want your finish.
Building Your Table: Step-by-Step
Now comes the fun part â€" let's build!
1. Cutting the Wood:
Tabletop: Cut your lumber to the dimensions you decided on for your tabletop. If you're going for a more rustic look, you can use rough-cut lumber. If you want a smoother finish, you can use planed lumber.
Legs: Cut your lumber to the desired height for your table legs. Make sure all four legs are the same length.
Bench frames: Cut your lumber for the bench frames based on the length of the bench and the height of the table. You'll need two long pieces for the top of the frame and two shorter pieces for the bottom of the frame.
Bench slats: Cut your lumber for the bench slats to the width of the bench and the desired spacing between the slats.
2. Assembling the Table:
Tabletop: If you're using multiple boards for the tabletop, glue and screw them together. Make sure the boards are flush and the joints are tight.
Legs: Attach the legs to the underside of the tabletop. Use strong screws or bolts for this part. Make sure the legs are level and positioned evenly around the tabletop. You can also use a jig or template to ensure that the legs are positioned correctly.
Bench frames: Attach the bench frames to the tabletop. Again, use strong screws or bolts. Make sure the bench frames are level and flush with the tabletop.
Bench slats: Attach the bench slats to the bench frames. You can use screws or nails for this part. Make sure the slats are spaced evenly and the joints are flush.
3. Finishing Touches:
Sanding: Sand down any rough edges on the tabletop, legs, bench frames, and slats. You can use different grits of sandpaper to achieve the desired level of smoothness.
Stain: If you want to stain your table, apply the stain according to the manufacturer's instructions. Let the stain dry completely before moving on to the next step.
Sealing: Apply a sealant to protect the wood from the elements. This will help to keep the table looking good for years to come.
Safety First!
Wear safety glasses: Always protect your eyes from flying debris.
Use ear protection: Power tools can be loud, so protect your hearing.
Be careful with sharp tools: Handle your tools with care to avoid cuts and injuries.
Work in a well-ventilated area: Staining and sealing can release fumes, so work outdoors or in a well-ventilated area.
Show Off Your Skills!
And there you have it! Now you've got a beautiful wooden patio table with bench seating that will be the envy of your neighborhood. Enjoy all the time you'll spend relaxing and enjoying the outdoors! And remember, if you're not confident with certain steps, don't be afraid to ask for help from a friend or a professional. But most importantly, have fun! That's what woodworking is all about.

0 comments:
Post a Comment
Note: Only a member of this blog may post a comment.