


Crafting High-Quality Cutting Boards to Sell Online: A Beginner's Guide
Hey there, fellow woodworker! Ever thought about turning your woodworking skills into a side hustle or even a full-time business? Well, cutting boards are a fantastic place to start. They're a practical and beautiful addition to any kitchen, and there's always a demand for them. But how do you create cutting boards that stand out from the crowd and are built to last? Let's dive in and explore the process of making high-quality cutting boards to sell online!
Choosing the Right Wood for Your Cutting Boards
The heart and soul of a cutting board is, of course, the wood! You've got a whole world of options, so let's talk about some popular choices and what makes them unique.
Hardwoods: The Workhorses
Hardwoods are the go-to for cutting boards because they're sturdy and can handle the wear and tear of regular use. Here are a few favorites:
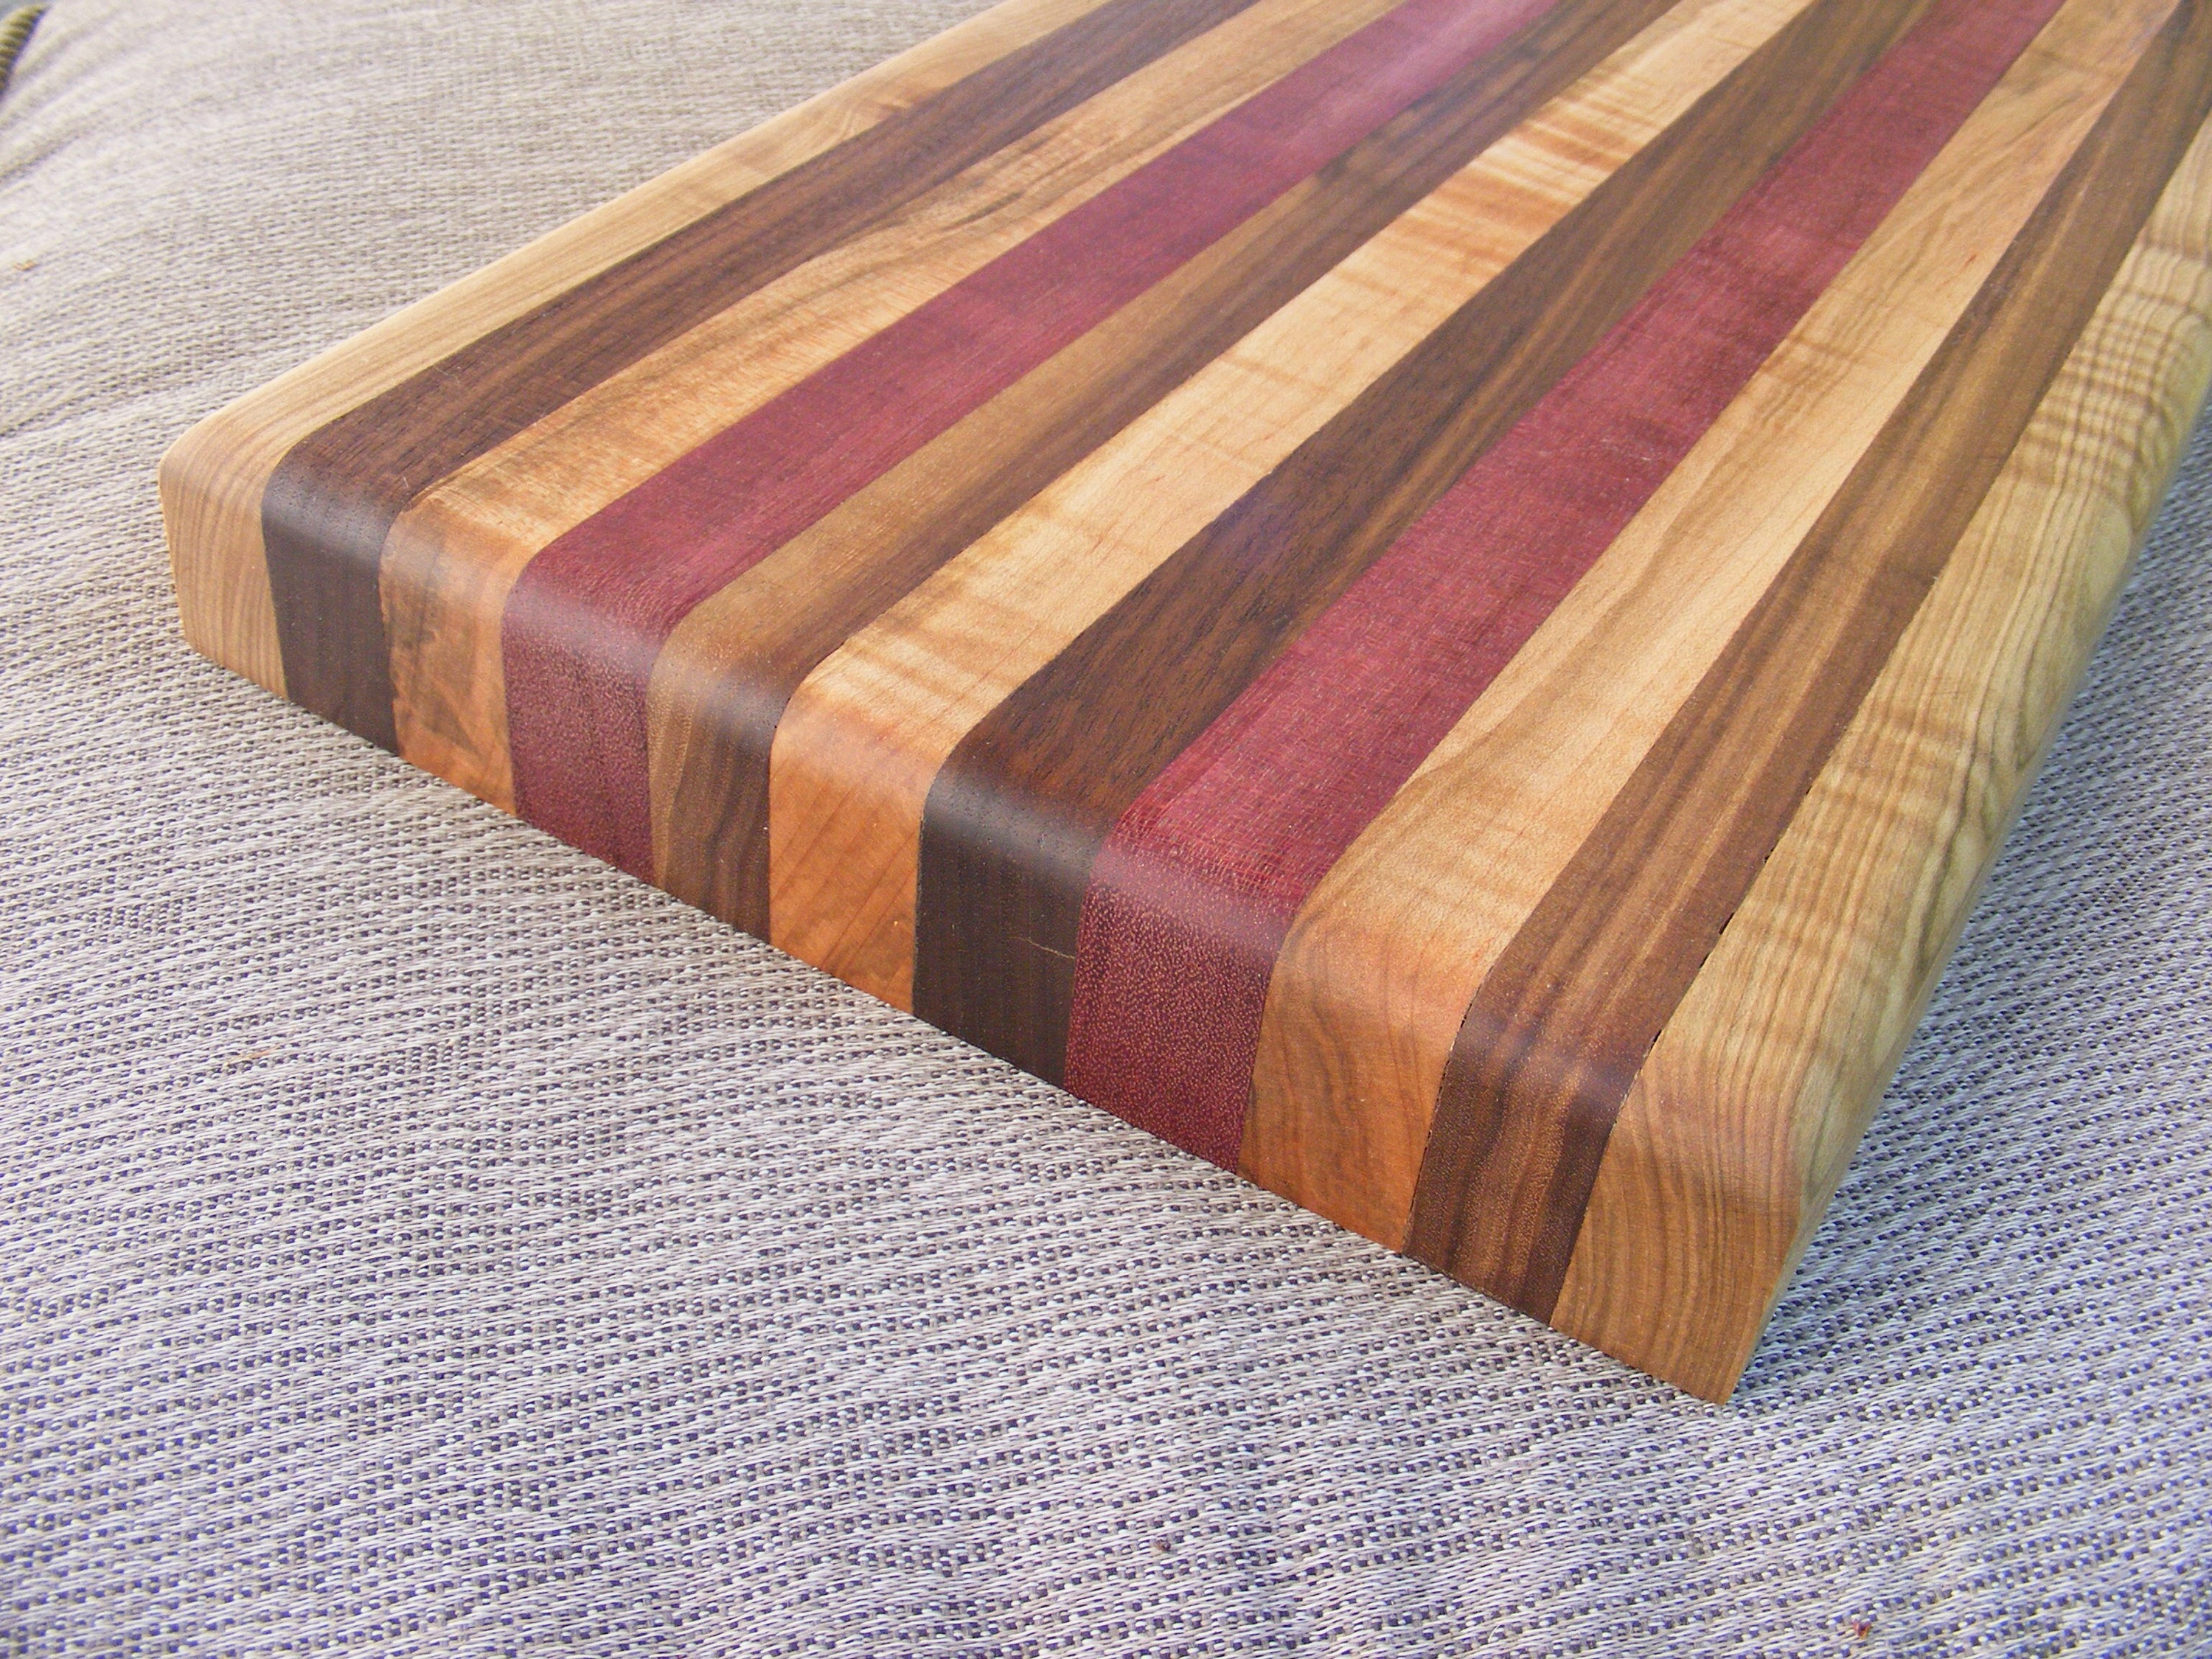
- Maple: This classic choice is known for its beautiful grain patterns and its resistance to scratches and dents. It also boasts a natural resistance to bacteria.
- Cherry: With its warm, reddish hues and lovely grain, cherry wood adds a touch of elegance to any kitchen. It's also known for its durability and its ability to patina over time, developing a rich, darker color.
- Walnut: If you're aiming for a striking look, walnut is the way to go. It has a gorgeous, dark grain that's truly captivating. Plus, it's incredibly strong and resistant to wear and tear.
- Oak: Oak is a solid choice for cutting boards because it's hard, durable, and resistant to moisture. It also has a distinctive grain pattern that adds a touch of rustic charm.
Softwoods: The Allures
While not as tough as hardwoods, some softwoods can also make excellent cutting boards. They're often more affordable and can add a unique look.
- Cedar: Known for its aromatic scent and beautiful grain, cedar is naturally insect-repellent, making it a great choice for cutting boards used for meats. However, it's softer than hardwoods and can be more susceptible to scratches.
- Pine: Pine is a light and affordable wood with a distinctive knotty grain. It can be a good choice for cutting boards, but keep in mind that it's softer and might require extra care.
Mastering the Art of Cutting Board Construction
Okay, so you've picked your wood. Now, let's talk about building your cutting boards! Here's the basic process, but remember, there's a ton of room for creativity and personal touches.
Step 1: Preparing the Wood
First things first, you'll need to mill your wood to the desired thickness and size. If you're working with rough-cut lumber, you'll need to plane it to create a smooth and even surface. Use a jointer to flatten one side of the wood and then a planer to achieve the desired thickness.
Step 2: Joining the Wood
For a cutting board with a larger surface area, you'll likely need to join multiple pieces of wood together. This is where your creativity comes in! Here are a few popular techniques:
- Edge-Grain Construction: Pieces are joined edge-to-edge, creating a strong and durable surface. This is a standard approach for cutting boards.
- End-Grain Construction: Pieces are joined end-to-end, creating a surface that's even more resistant to knife marks and dulling. This is a more challenging but rewarding technique.
- Combination Construction: You can combine edge-grain and end-grain elements to create a unique and functional cutting board. This is great for experimenting and adding visual interest.
Use wood glue for a strong bond. Make sure your pieces are aligned perfectly and clamped firmly until the glue dries completely.
Step 3: Shaping and Finishing
Once your cutting board is assembled, it's time to shape and refine it!
- Sanding: Start with a coarser grit sandpaper (80-120) to remove any rough edges or inconsistencies. Gradually progress to finer grits (up to 220 or even 400) to create a smooth and polished finish.
- Adding a Bevel: Consider adding a slight bevel to the edges of the cutting board. This will give it a more refined look and feel, and it will make it easier to wipe clean.
- Adding Handles: For larger cutting boards, handles can be a helpful and decorative addition. You can use dowels or sculpted wood for a unique touch.
Step 4: Sealing and Finishing
To protect your cutting board from moisture, stains, and bacteria, apply a food-safe sealant. Here are a few popular options:
- Mineral Oil: This is a classic and affordable choice. It penetrates the wood, creating a protective barrier. You'll need to re-apply mineral oil periodically to maintain the finish.
- Beeswax: Beeswax provides a natural and water-resistant finish. It can be mixed with mineral oil for a more durable coating.
- Food-Safe Polyurethane: This is a durable and water-resistant option, but it can be more difficult to apply evenly.
Always choose food-safe sealants that are specifically designed for cutting boards. Avoid using varnish or other sealants that might contain toxic chemicals.
Creating Cutting Boards That Sell: Tips for Success
Now that you know the basics, let's talk about what sets successful cutting boards apart. Here are some key strategies:
1. Know Your Target Market
Before you start crafting, think about who you're selling to. Are you aiming for the budget-conscious shopper or the high-end kitchen enthusiast? This will help guide your wood choices, design decisions, and pricing.
2. Offer Variety and Options
People love choices! Consider offering a variety of sizes, wood types, and finishing options. This gives shoppers a greater chance of finding something they love.
3. Embrace Uniqueness
Don't be afraid to get creative! Experiment with different shapes, designs, and embellishments. Consider incorporating epoxy resin, wood burning, or inlays to add a unique touch.
4. Photography is Key
Online shoppers rely heavily on visuals, so make sure your product photos are high-quality and enticing. Use natural light whenever possible, and showcase the beauty of your cutting boards from various angles.5. Offer Excellent Customer Service
Respond to inquiries promptly, package your cutting boards carefully, and be willing to go the extra mile to satisfy your customers. Building a positive reputation is crucial for online success!Selling Your Cutting Boards Online: Where to Start
Once you've got your stunning cutting boards ready, it's time to find your audience. Here are some popular platforms for selling online:
- Etsy: A fantastic platform for handmade goods. Etsy is known for its strong community and a curated marketplace with a focus on quality.
- Amazon Handmade: Another great platform for selling handcrafted items, with a vast customer base and excellent marketing tools.
- Your Own Website: If you want complete control over your branding and selling process, creating your own website is a solid option. Consider using a platform like Shopify for easy setup.
- Social Media: Facebook, Instagram, and Pinterest are great for showcasing your work and connecting with potential customers. You can use these platforms to promote your online store or sell directly.
Commonly Asked Questions
You've got questions, I've got answers! Here are some commonly asked questions about making and selling cutting boards online:
1. How do I prevent my cutting board from warping?
Warpage can happen if the wood isn't properly dried or if it's exposed to extreme temperature changes. Make sure you're using kiln-dried wood, and avoid storing your cutting boards in direct sunlight or near heat sources.
2. How often should I re-oil my cutting board?
Re-oil your cutting board whenever it feels dry to the touch. This might be every few weeks or every few months, depending on how frequently you use it.
3. How do I price my cutting boards?
Consider the cost of materials, your labor time, and the market value of similar products. Factor in your desired profit margin and research what other sellers are charging.
4. What if I make a mistake?
Don't sweat it! Mistakes are part of the process. You can often salvage a cutting board by sanding down the mistake and starting again. Sometimes, a "flaw" can even become a unique design element!
There you have it! Making and selling cutting boards online can be a rewarding and creative endeavor. Don't be afraid to experiment, learn from your mistakes, and have fun with the process. Who knows, you might just be surprised at the beautiful creations you're capable of!

0 comments:
Post a Comment
Note: Only a member of this blog may post a comment.